Ai
AI Tools for Coding: 12 Tools That Help You Code Faster (2026)
Compare 12 AI tools for coding, from GitHub Copilot and Cursor to free open-source options, with prices and the job each one does best.

 By Taylor Orlando
·November 3, 2026
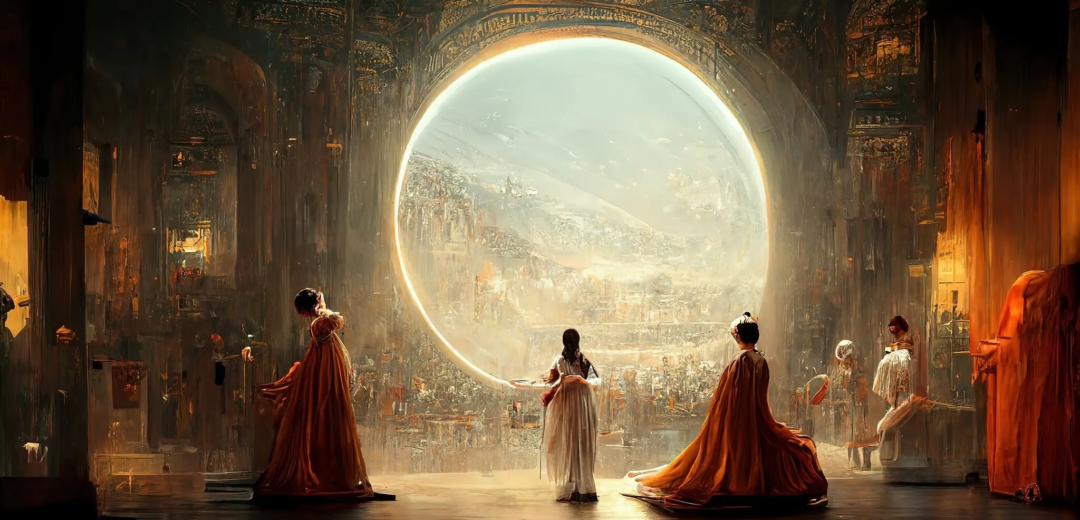
Midjourney turns a sentence into a picture. You type a short description, and a few seconds later you get four images to pick from. This guide shows how to use Midjourney from scratch: how to sign up, which plan to pick, how to write a prompt that works, and what to do with the images you make.
Midjourney is a paid AI image tool made by an independent research lab. You describe what you want in plain words, and it creates images from that text. It runs on its website, midjourney.com, and you can also use it through Discord if you prefer.
People use it for blog images, social media posts, book covers, product mockups, posters, and concept art. It is strong at art-style images and photo-style images, but it is not a photo editor. You cannot upload a photo and ask it to fix small details the way you would in Photoshop, though its built-in editor can change parts of an image you made.
The current default model is V8.2, which became the default in July 2026. You do not need to pick a model version as a beginner. The default is fine.
Three things:
Go to midjourney.com, sign in, and choose a plan. Prices below were checked in November 2026. Midjourney changes prices from time to time, so check the official plans page before you pay.
| Plan | Monthly | Yearly | Fast hours | Best for |
|---|---|---|---|---|
| Basic | $10/month | $96/year ($8 a month) | 3.3 Fast hours | trying it out |
| Standard | $30/month | $288/year ($24 a month) | 15 Fast hours | regular use |
| Pro | $60/month | $576/year ($48 a month) | 30 Fast hours | heavy use and privacy |
| Mega | $120/month | $1,152/year ($96 a month) | 60 Fast hours | studios and high volume |
Two terms in that table matter:
Fast GPU time is the fast queue. Each image job uses some of it. When it runs out on Basic, you have to buy more at $4 an hour or wait for next month.
Relax mode is a slower queue with no monthly limit on images. It comes with Standard and higher. If you can wait a bit longer for each image, Standard gives you far more room to practice than Basic.
For most beginners, Basic is enough for the first month. Move to Standard if you run out of Fast hours or want to practice without counting minutes. Pro is worth it only if you want Stealth Mode, which keeps your images private. On Basic and Standard, your images are public by default and can show up on the site.
Once you are subscribed, open the Create page on the website. You will see an Imagine bar at the top of the page. Type your description there and press Enter.
Try this as your first prompt: a cozy bookshop on a rainy street in Paris at night, warm light in the windows, photorealistic –ar 3:2
Midjourney will show a progress bar, then a grid of four images. That is one job. Every prompt you send makes four images, so you always get options.
Everything you create is saved on the Organize page, where you can download images and sort them into folders. Set up one folder per project on day one. It saves a lot of searching later.
Click any image in the grid to open it. From there you can:
A good habit: upscale only the images you actually plan to use. Upscaling everything eats your Fast hours for no reason.
If you do not like any of the four images, just run the prompt again or change a few words. Small changes often beat long rewrites. Change one thing at a time so you learn what each change does.
A strong Midjourney prompt follows a simple order: subject first, then setting, then style, then technical details at the end.
Subject + setting + style + parameters
Here are three prompts that follow that order:
Three rules that help more than any long list of tricks:
Parameters go at the very end of your prompt, each starting with two dashes. Learn these six and you can control most results:
You do not need to memorize more than this to start. Add one new setting per week as you practice.
You do not need Discord anymore. The website is the easier route for most people. But if you already live on Discord, you can still use Midjourney there: join the Midjourney server, go to a newbie channel, and type /imagine followed by your prompt. The same plans, prompts, and settings apply.
One tip for Discord: your images appear in a public channel, so other people can see them. Use the website or a private channel if that bothers you.
If you have a paid subscription, you own the images you create and can use them in just about any way you want, including client work and products you sell. There is one exception to know: companies making more than $1 million a year in gross revenue must be on the Pro or Mega plan for commercial use.
A few limits still apply:
Paid plans can also turn an image into a short video clip. Treat video as a bonus feature, not the reason to subscribe, unless you already know you need it.
Is Midjourney free? No. Midjourney has no free plan and no standing free trial. The cheapest way in is the Basic plan at $10 a month.
Do I need Discord to use Midjourney? No. You can use the full tool on the Midjourney website. Discord is an optional extra for people who already use it.
Which Midjourney plan should a beginner pick? Basic at $10 a month is the right start for most people. Switch to Standard at $30 a month if you run out of Fast hours or want unlimited Relax images for practice.
Can I sell images I make with Midjourney? Yes, paid subscribers own their images and can use them commercially, including products for sale. Companies with over $1 million a year in gross revenue need the Pro or Mega plan.
Why do my images look different every time I run the same prompt? Midjourney adds random variation to every job, so the same words give different images each run. If you want a closer match, use the Vary button on an image you like, or add –sref with that image as a style reference.
Is Midjourney better than the image tool inside ChatGPT? They suit different jobs. Midjourney is stronger for artistic and stylized images with fine control over style and ratio. The image tool inside ChatGPT is easier for quick edits to a specific picture and for text inside images. Many creators use both.
Can Midjourney make videos? Yes, paid plans can animate an image into a short video clip. Video uses GPU time too, so try it after you are comfortable with still images.
Last updated: November 2026. Prices and plan details were checked in November 2026 and can change; confirm the current plans on Midjourney’s official site before you subscribe.

Taylor Orlando is a content writer at Meregate covering websites, SEO, and AI. Taylor breaks down complex topics into simple, practical guides that help small businesses build better websites, rank higher on Google, and get real value from AI tools — no jargon, no fluff.
Compare 12 AI tools for coding, from GitHub Copilot and Cursor to free open-source options, with prices and the job each one does best.
Podcast production used to take 6 hours an episode. These AI tools cut it to about 2 — here are the 10 worth paying for, organized by the job they do.
The Gemini app crashing on open or in the middle of a chat is usually a bad update, corrupt cache, or low memory. These fixes work through the causes in order.