Data & Analytics
What Is Engagement Rate? A Simple GA4 Guide
Engagement rate shows what share of your website visits were truly engaged. This guide explains the 3 GA4 rules, the formula, good rates by site type, and how to lift a low rate.

 By Taylor Orlando
·November 19, 2026

Google Analytics tells you who visits your WordPress site, where they come from, and what they do once they arrive. It is free, and you can set it up in about 15 minutes. This guide shows you how to add Google Analytics to WordPress step by step, with a plugin or without one, so you can pick the method that fits you.
Last updated: November 2026
You need two things before you touch your site:
If you see an ID that starts with UA-, you are looking at an old Universal Analytics property. Universal Analytics stopped collecting data in 2023, so do not use it. Make sure your property is GA4 and your ID starts with G-.
One more thing to check: this guide is for self-hosted WordPress sites (WordPress.org). If your site runs on the free WordPress.com plan, you cannot add Google Analytics — that plan does not allow tracking code or plugins. You need the WordPress.com Business plan or higher, or a self-hosted site, to install it.
There are five ways to add Google Analytics to WordPress. They all track the same data. The difference is how much work they take and how much control you get. Pick one — and use only one. If you add the tracking code twice, for example through a plugin and a code snippet, Google Analytics can count the same visit twice and your numbers will be wrong.
| Method | Best for | Code needed? |
|---|---|---|
| Site Kit by Google (plugin) | Most beginners | No |
| MonsterInsights free (plugin) | Reports inside WordPress | No |
| WPCode (code snippet plugin) | People who want no analytics plugin | Copy and paste only |
| Google Tag Manager | Sites with several tracking tools | Copy and paste only |
| Theme functions.php | Developers only | Yes |
If you are not sure, use Site Kit. It is Google’s own free plugin, it takes about five minutes, and it also connects Search Console and PageSpeed Insights if you want them later.
Site Kit is Google’s official WordPress plugin. It adds the tracking code for you and shows some of your Analytics data right inside your WordPress dashboard.
That is it. You do not need to paste any code. Site Kit also adds a small Analytics panel to your WordPress dashboard, so you can see your top pages and traffic sources without leaving WordPress.
MonsterInsights is a popular Analytics plugin with a free version. Like Site Kit, it connects your site to Google Analytics without code and shows reports inside WordPress. The free version covers the basics — visitors, top pages, and traffic sources. The paid version adds more reports and tracking options, but most small sites do fine on the free plan.
MonsterInsights adds the tracking code to your site. You can see a simple traffic report under Insights > Reports in your WordPress dashboard.
If you do not want a dedicated analytics plugin, WPCode is a good middle ground. It is a free code-snippet plugin that pastes your Google tag into your site’s header for you. The code stays in place when you change or update your theme, which is the main risk of editing theme files by hand.
Your site now sends data to Google Analytics. This method does not add any reports to your WordPress dashboard — you check your numbers in Google Analytics itself.

Google Tag Manager (GTM) is a free tool that manages all your tracking code from one place. It makes sense if your site already runs other scripts — an ad pixel, a chat widget, or a cookie banner — because you can add and remove them all without touching your site’s code again. For a simple blog with no other tracking, it is more than you need.
Until you publish the container, nothing is tracked. That is the step people forget most often with this method.
You can paste the Google tag straight into your theme, but do this only if you are comfortable editing code — and only in a child theme. If you paste it into your main theme’s files, the next theme update will wipe it out and tracking will stop without warning.
For most site owners, Method 1 or Method 3 does the same job with far less risk. There is no tracking benefit to doing it by hand.
Do not assume the install worked. Check it the same day:
If Realtime still shows nothing after a few hours, check these three things: you used only one install method, the Measurement ID matches your property, and the tag is actually on the page (open your site, right-click, choose View Page Source, and search for your G- ID).
Once data starts coming in, three reports tell you most of what you need as a beginner:
Give it a week before you draw any conclusions. One day of data says very little; a week shows a pattern.

Google Analytics uses cookies to track visitors. If your visitors are in the EU or UK, privacy rules (GDPR and similar laws) usually mean you need a cookie consent banner and a short note in your privacy policy saying you use Analytics. A free consent plugin can handle the banner. If your audience is only in the US, the rules are lighter, but a line in your privacy policy is still good practice. This is not legal advice — if you collect data from many countries, check the rules for each one.
Yes. The standard version of Google Analytics 4 is free, with no time limit and no visitor cap that affects small sites. Google also sells a paid enterprise version called Analytics 360, but you do not need it unless you run a very large site.
Yes. You can paste the Google tag into your site with WPCode, through Google Tag Manager, or by adding it to a child theme. The plugin methods are easier, but the manual methods work just as well.
The Realtime report usually shows visitors within a few minutes. Regular reports can take up to 48 hours to start filling in, so do not worry if they look empty on the first day.
GA4. Universal Analytics stopped collecting data in July 2023. Any new setup should use a GA4 property with a Measurement ID that starts with G-.
Very little. The tracking code loads in the background and is small. On most sites the effect on speed is too small to notice. If your site is already slow, Analytics is almost never the cause — check large images and heavy plugins first.
No. The free WordPress.com plan does not allow tracking code or plugins. You need the Business plan or higher, or a self-hosted WordPress.org site.
In Google Analytics, open Reports > Engagement > Pages and screens. It lists your pages by views, so you can see what your audience reads most.

Taylor Orlando is a content writer at Meregate covering websites, SEO, and AI. Taylor breaks down complex topics into simple, practical guides that help small businesses build better websites, rank higher on Google, and get real value from AI tools — no jargon, no fluff.
Engagement rate shows what share of your website visits were truly engaged. This guide explains the 3 GA4 rules, the formula, good rates by site type, and how to lift a low rate.
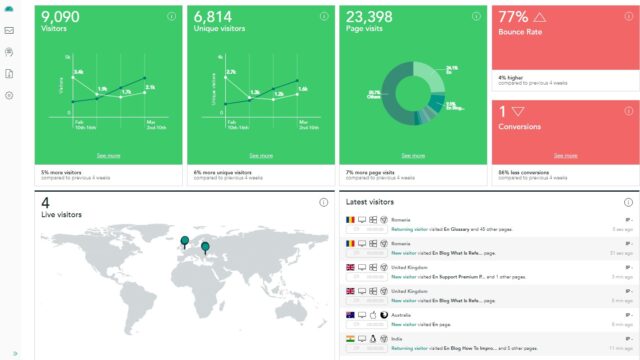
Session duration is the time between the first and last thing a visitor does in one visit. Here is how it works, why it can read zero, and what a good number looks like.
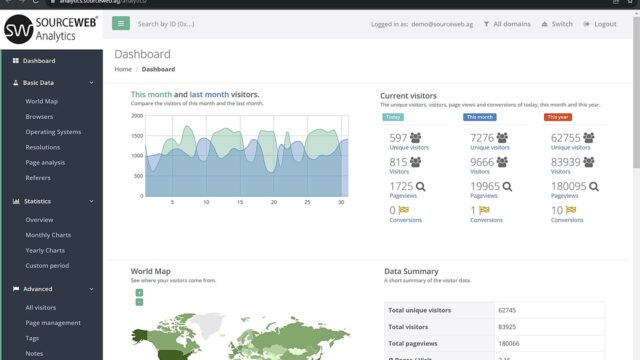
Bounce rate is the percentage of visits where a person views one page and leaves without doing anything else. This guide explains what it means, how GA4 measures it, and what a good rate looks like.