
Computers
How to Back Up a WordPress Site: A Simple Step-by-Step Guide (2026)
Learn how to back up a WordPress site step by step — free plugin, host tool, or by hand. Includes restore steps, schedule, and mistakes to avoid.

 By Taylor Orlando
·November 13, 2026
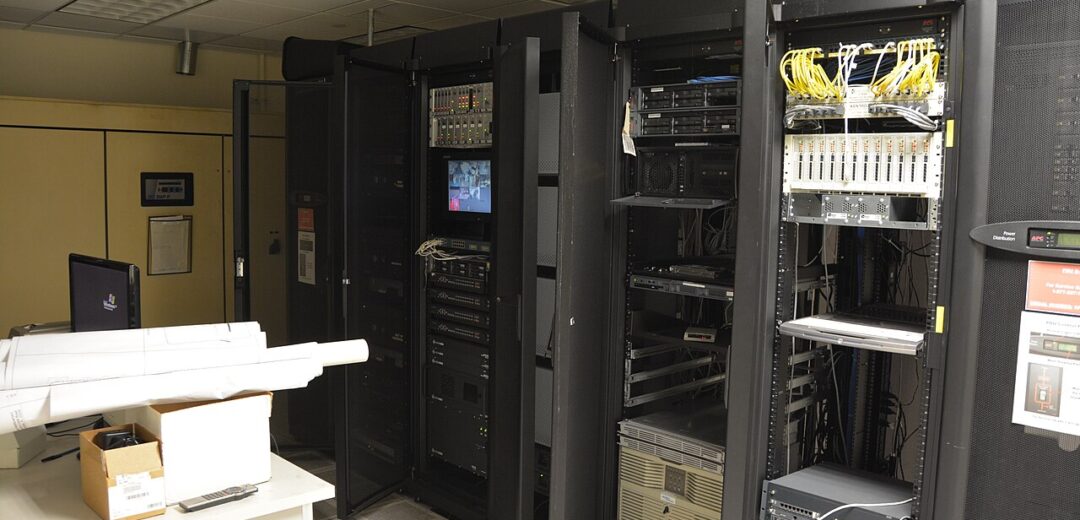
Moving a WordPress site to a new host sounds risky. One wrong step and your site could go down, lose pages, or drop in Google. The good news: when you do it in the right order, a migration causes no downtime at all. Your old site keeps working while you build and test the copy on the new host, and visitors only get sent to the new server once everything works.
This guide shows you how to migrate a WordPress site to a new host step by step. You will learn the four ways to move a site, which one fits your situation, and the checks to run after the move so nothing breaks. You do not need to hire a developer, and for most small sites the whole move is free and takes one to two hours.

A few minutes of prep saves hours of fixing later. Work through this list before you move anything.
There are four real ways to move a WordPress site. They all move the same two things — your files (themes, plugins, uploads) and your database (posts, pages, settings) — but they differ in effort and control. Use this table to pick.
| Method | Best for | Cost | Skill needed |
|---|---|---|---|
| Your new host moves it | Anyone — the easiest option | Usually free | None |
| Migration plugin | Most small business sites (All-in-One free caps imports at 512 MB) | Free | Beginner |
| Manual (FTP + phpMyAdmin) | Large sites, or hosts that block plugins | Free | Comfortable with files and databases |
| WP-CLI over SSH | Developers, very large sites | Free | Command line |
If you are not sure, start with Method 1. If your new host does not offer a free move, use Method 2. Only go manual if the plugin route fails or your site is too big for the free plugin limits.
Most hosts now offer a free migration service. Their team moves the site for you while your old site stays live. This is the fastest path and needs no technical skill from you.
One limit to know: most host migration services do not move WordPress Multisite networks, and they do not move email accounts. If you run a network of sites under one install, use the manual method instead.
A migration plugin packs your whole site — files and database — into one file, which you then restore on the new host. The two most-used free plugins are All-in-One WP Migration and Duplicator. Both work the same way, and both are free for small sites. All-in-One WP Migration’s free version caps imports at 512 MB. Duplicator’s free version has no fixed size cap of its own, but very large sites can still stall on shared hosting limits. If your site is bigger than the free plugin can handle, use your host’s free service (Method 1) or the manual method (Method 3).
Most hosts offer a one-click WordPress install. Install a fresh copy on the new host — it will be replaced by your site in the next steps, so do not add content to it.
On your old site, go to Plugins, then Add New, and search for “All-in-One WP Migration” or “Duplicator”. Install and activate it. Then do the same on the fresh WordPress install on your new host.
On the old site, open the plugin and choose Export. Pick “Export to File”. The plugin will build one archive file with everything in it. Download that file to your computer. For a small site this takes a few minutes; a site near the 500 MB limit can take longer.
On the new site, open the same plugin and choose Import. Upload the file you just downloaded. The plugin will unpack it and overwrite the fresh install with your real site. When it finishes, log back in with your usual WordPress admin login — the imported site uses your old login, not the fresh install’s login.
With Duplicator, the steps look a little different: you create a “package” on the old site, upload the package file plus the installer.php file to the new host, then open installer.php in your browser and follow the setup screens. The result is the same.
After the import, go to Settings, then Permalinks, and click Save Changes without changing anything. This rebuilds your site’s URL rules on the new server and fixes a common cause of “page not found” errors after a move.
The manual method takes more steps, but it works on any site of any size and gives you full control. You will need an FTP client such as FileZilla and access to phpMyAdmin on both hosts.
If you have SSH access on both servers, WP-CLI moves a site fast and handles big databases well. The basic flow is: copy the files with rsync or scp, export the database with wp db export, import it on the new server with wp db import, update wp-config.php, then run a safe search-replace if the URL changed:
wp search-replace 'https://oldsite.com' 'https://newsite.com' --skip-columns=guid --dry-run
Run it with –dry-run first to see what would change, then run it again without –dry-run to apply it. The command handles the stored-data format correctly, which is why it is safer than editing the database file by hand.

The move itself causes no downtime if you follow one rule: build first, switch last. Your old site keeps serving visitors while you copy and test the new one. Only when the new copy works do you point the domain at it.
Do not cancel the old host until every item on this list passes.
A WordPress migration moves WordPress — not everything attached to your hosting account. These things need separate attention:
This is the most common error after a move, and it almost always means the database details in wp-config.php are wrong. Open the file and check the database name, username, password, and database host against the ones you created on the new host. One wrong character is enough to break it.
This usually comes from a plugin that does not work with the new server’s PHP version. Rename the plugins folder to plugins-old with FTP — if the site comes back, rename it back and then rename plugins one by one inside it until you find the one that breaks the site.
This is often mixed content: the site loads on https but some images or files still use http. Check your site address in Settings, then General — both fields should start with https. Then save permalinks again.
Go to Settings, then Permalinks, and click Save Changes. This rebuilds the URL rules and fixes most 404 errors after a move.
If All-in-One WP Migration refuses your file, your site is over its 512 MB free limit. Try Duplicator instead, ask your new host to move the site for free, or use the manual method, which has no size limit.
Run a proper search-replace (Better Search Replace plugin or WP-CLI) and leave the guid column untouched. A plain text edit of the database file breaks stored data and causes strange errors later.
For a small site under 1 GB, a plugin migration takes 60 to 90 minutes from start to finish. A host-managed migration usually finishes within a few hours to one business day. The slow part is waiting for DNS to spread, which can take up to 48 hours even though most visitors switch within 1 to 4 hours.
If you keep the same domain and the same URLs, no. Google treats it as the same site on a new server, and a faster host can even help rankings over the next few weeks as Google recrawls. If the domain also changes, expect some short-term movement — Google says to expect temporary fluctuation during a site move. Good 301 redirects from every old URL to its new twin, plus a Change of Address in Search Console, protect your traffic.
No. With a plugin, the import replaces the fresh install with your real site. With the manual method, you upload your existing files directly — no fresh install is needed. You only install a blank WordPress first as a starting point for the plugin method.
Yes. Most hosts move your site free when you sign up, and the free version of All-in-One WP Migration handles sites up to 512 MB at no cost. Duplicator’s free version has no fixed size cap. You only pay if you want a premium plugin for a very large site, or a paid migration service.
The easiest way is a migration plugin: install All-in-One WP Migration, open Export, and choose “Export to File”. That one file holds your posts, pages, media, themes, plugins, and settings. If you only need the content (posts and pages, without themes or settings), use Tools, then Export in your dashboard instead.
Only if your email runs on the old host and you cancel it before moving the mailboxes. Email is separate from WordPress. Set up the same mailboxes on the new host (or a mail service) and copy your MX records before you cancel the old plan.
The steps are the same, with three extras: run a proper search-replace to update every stored URL, add a 301 redirect from each old URL to its new twin (redirecting everything to the home page throws away the value of your ranking pages), and submit a Change of Address in Google Search Console.
Most host migration services and free plugins do not support Multisite. A manual move works, but it has extra steps for the network’s domain mapping, so it is best left to someone who has done it before.
Last updated: November 2026

Taylor Orlando is a content writer at Meregate covering websites, SEO, and AI. Taylor breaks down complex topics into simple, practical guides that help small businesses build better websites, rank higher on Google, and get real value from AI tools — no jargon, no fluff.
Learn how to back up a WordPress site step by step — free plugin, host tool, or by hand. Includes restore steps, schedule, and mistakes to avoid.
Chrome shows ERR_CONNECTION_TIMED_OUT when a website never answers in time. This guide shows how to find the cause in 30 seconds and fix it step by step.

Learn how to design a website using AI — pick a builder, write a good prompt, fix the first draft, and launch. Costs, prompts, and a launch checklist included.